


At home or on the road, the AeroPress is one of the most user-friendly ways to make a delicious cup of filter coffee. Portable, machine washable and versatile, the AeroPress can make a balanced light cup, a more concentrated espresso style, or even individual cup of cold brew! Whilst it can be used as a plonk and push coffee maker, taking care over a few things will really showcase this brewer’s brilliance. Here’s a few tips to help you get started.
- Inverted method – Originally, the AeroPress was designed to incorporate 3 different types of extraction: gravity (drip brewers), immersion (cafetière) and pressure (espresso). As barista’s began to experiment with the Aeropress more and more, we found that the beginning of the brew would be quite finickity, creating lots of unbalanced brews when filling the AeroPress and creating the vacuum seal. The way we have mitigate this in modern specialty is flipping it upside down! Whilst losing the gravity element, we can control the immersion and pressure extraction much more efficiently to create a tasty brew. Try it both ways and see how you get on!
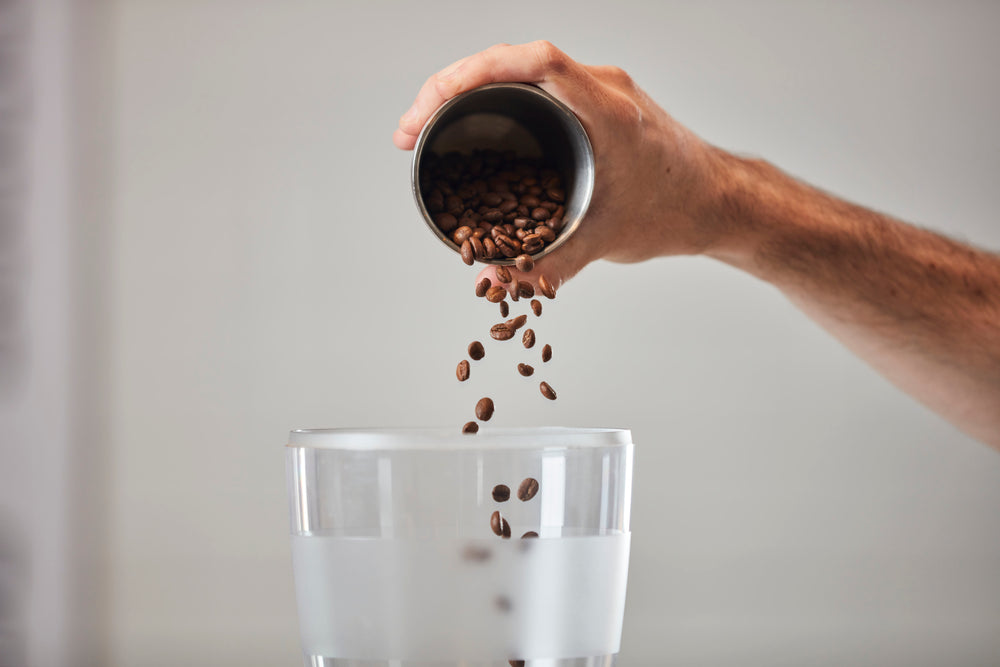
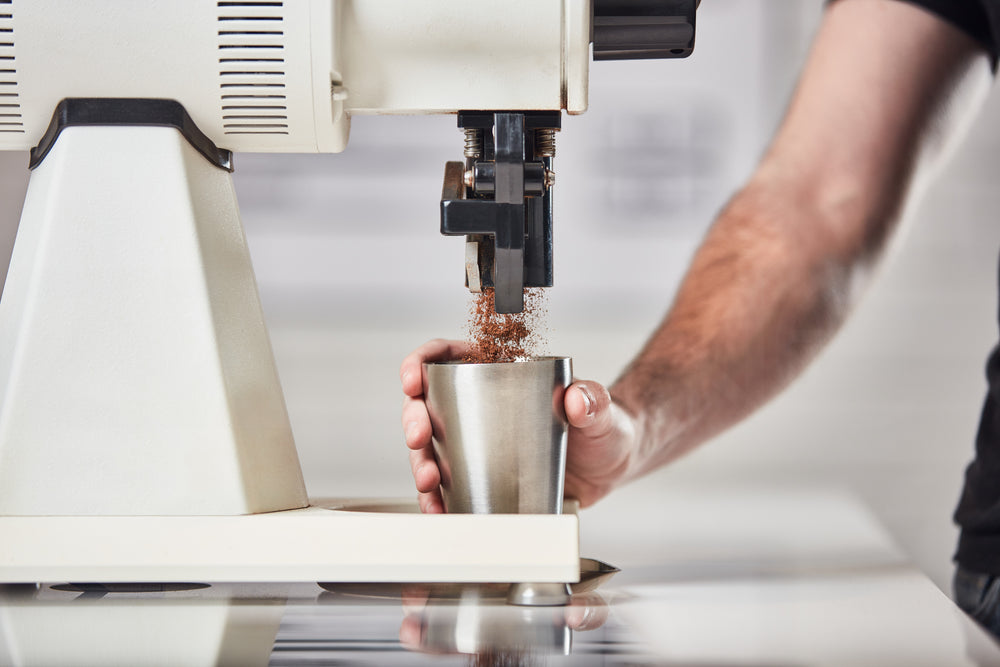
- Grind size – Like with brewing in a V60, your grind size will make a massive impact on the flavour and sensation of your final brew. Due to the nature of the way is extracts, you will expect an AeroPress to have a balanced flavour profile not too dissimilar to a V60 but with a more unctuous mouthfeel. For that reason, we like to grind on the finer end of medium when using an Aeropress.
- Have you wet the bed? – Once you have your AeroPress set up and your coffee at the bottom, it’s time to add some water! Although you can just fill it with off-boiling water, wait a couple of minutes and plunge it out, we recommend starting your brew with what we call a bloom. Adding a small amount of water to your coffee grounds (ideally double the amount of coffee but you can do 1:3 to experiment) allows the coffee to expand and swell, releasing an initial burst of CO2. This also helps maximise the coffee’s porousness, so that when you add the rest of your water it will allow more extraction, resulting in bigger and sweeter flavours.
- Time ticks away – How long you leave your AeroPress brewing for will also affect your final taste. Not long enough and you will have extracted the fruit acids but not enough of the sugars present; and too long and you will extract everything from the coffee including all the caffeine and bitter principles. Think of extracting coffee like blending paint, the right amount of different colours gives you a whole new colour, putting all the colours together gives you brown. Here - with the right grind size and ratio - we like our AeroPress to be brewing for 2 and a half minutes.
- Agitation – When you have added all your water to the AeroPress and are letting it brew, it sometimes helps the extraction of the coffee to give it a little stir. Just enough to get the grounds swirling. This agitation allows more of the surface area of the coffee to be saturated and extracted, giving you a balanced, sweet, and bright cup. Be warned though, while some agitation will enhance your flavour, too much will result in over-extraction.