In the Dark Ages, it was common thought that coffee could only be a dark, bitter, full-bodied roast-y cup or a mega-intense robusta-based espresso. Something to keep you awake and not much else.
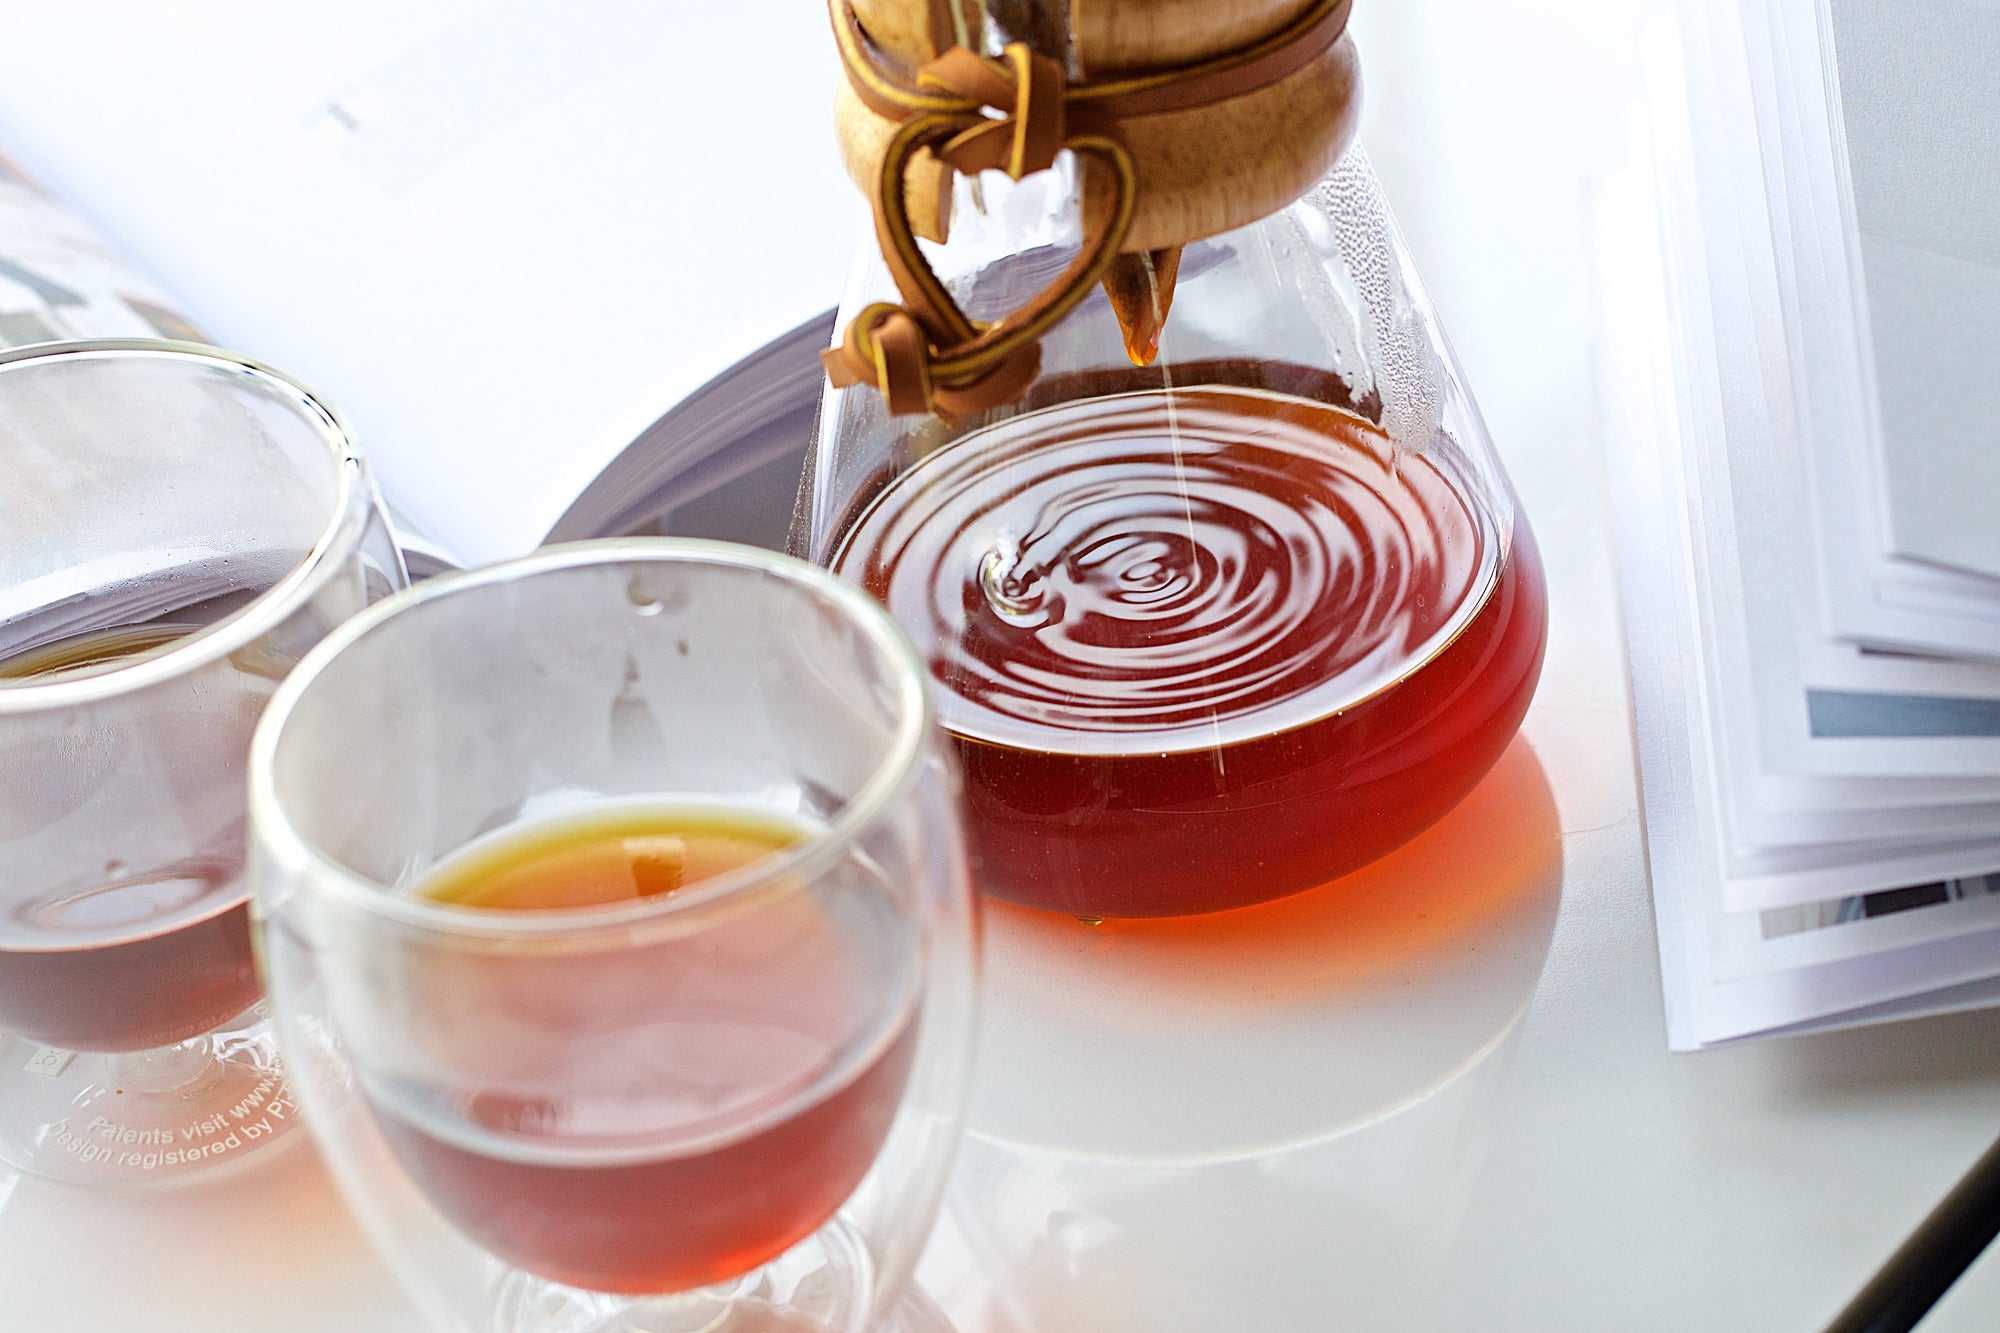
Whilst many were happy to continue this path and not think it could anything else, there was one Dr Peter Schlumbolm who thought it could be so much better. In 1941 he released the Chemex, a drip brewer that was the vanguard of 1st wave Specialty Coffee. Remaining in relative obscurity for a good few decade, the chemex really took off in the 1970’s with the advent of 2nd wave Specialty coffee in America.
An aesthetic glass beaker, the chemex is great for producing a clean, bodied batch brew. Whilst not as specific in taste as it’s more modern counterparts, the chemex is a great addition to any coffee enthusiast’s collection, especially if you want to show off some nice coffee to a group of friends.
To help you bring the best out of your chemex, here’s some tips and tricks to keep in mind.
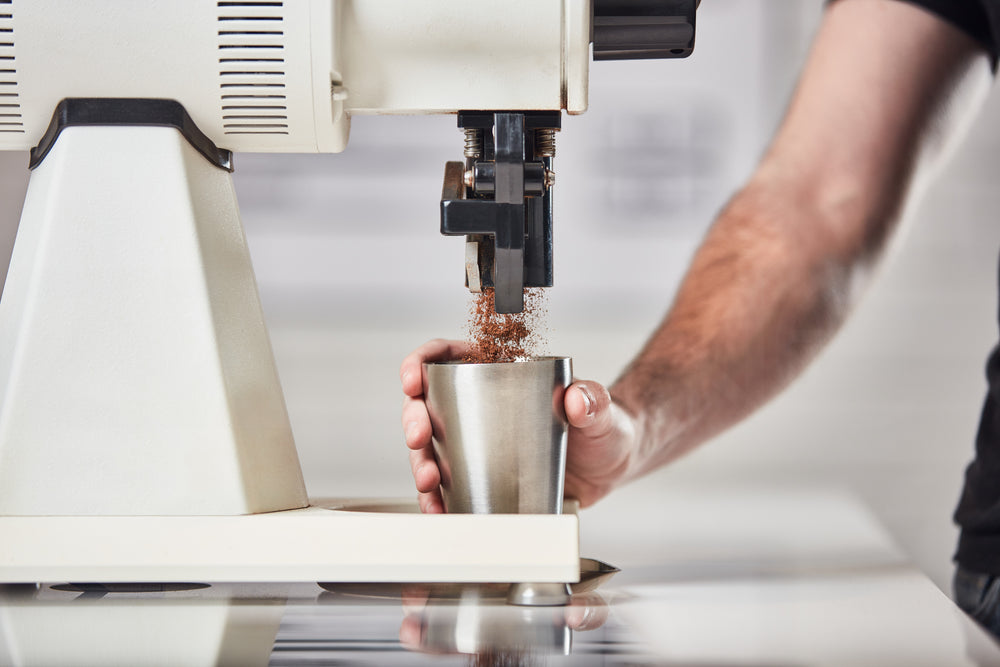
1. To the grindstone
Like with all the different brewing methods, the grind size you choose to brew with will make a huge difference in your final cup. In the brew bar, we like our chemex’s to be brewed using a medium-coarse grind size. Finer that a cafetiere, but much coarser than a V60 to accommodate for the ratio of water you will be running through the bed. If you find when brewing that the water is sitting on top of the coffee and you can see the bed underneath, that will indicate that you have ground too fine for the coffee you have chosen.
2. Stir it up!
When blooming and doing your 1st pour, giving the coffee bed a good stir will help saturate your coffee, allowing an efficient release of C02 to maximise the extraction of the rest of your brew. Giving the brewer a good whirl will do a similar job, but in the Brew Bar we have found stirring to be a much more reliable method of saturation. Be aware though that too much stirring will potentially cause your coffee to over extract.

3. “You have chosen… wisely”
Much like a cafetiere, a chemex is a batch brewer. When choosing a coffee to use with it, keep in mind that you will be tasting more of the general profile of the coffee flavours. Big zingy acidity will become softer and subtler, whilst sweeter and more caramelized flavours will come through well. Coffee’s that have a medium development with some fruity qualities and lots of caramelization – like our Nicaraguan Finca la Bastilla - will work best in a chemex, giving a lovely subtle balance of fruity flavours, lots of sweetness with a clean body.
4. Terminal Velocity
If you have stirred your bloom and your 1st pour, that should be enough agitation of the coffee bed to ensure an even extraction. Stirring however is not the only thing that will cause agitation in your brew. Pouring too high and fast will cause your coffee bed to become turbulent as the water is added, potentially allowing your ground coffee to be saturated more than you intended. More turbulence = more extraction, too much extraction = bitter, flat coffee. Pouring as close to the coffee bed and as slow as possible with a goose-neck kettle will ensure you are only agitating as much as needed for your brew.
5. Size matters
Which chemex you own will have an impact on how you are going to brew with it. A 3-cup chemex has a much steeper angle and a smaller aperture, whilst the 6-cup is shallower with a slightly larger aperture. This was a design choice to allow you to get a similar flavour profile whether you were brewing for a couple of drinks or a larger batch brew. For a 3-cup you will need to grind your coffee finer than a 6-cup, but not so fine that it will choke into an immersion brew in the steep angle. For a 6-cup, you will need a coarser grind to avoid over extracting. Keeping these accommodations in mind, your actual end brewing times and flavour profiles will not be too dissimilar.


